Showing posts with label Watercolor Palette. Show all posts

Wednesday, March 26, 2025

How to Use a Palette Knife for Watercolor Painting

When most artists think of a palette knife, they picture thick oil or acrylic paint being sculpted onto a canvas. But did you know that you can use a palette knife with watercolor too? It’s an exciting way to add texture, depth, and spontaneity to your paintings—while keeping that beautiful, fluid watercolor look.

If you’re looking for a way to loosen up your style, embrace imperfections, and create bold, expressive marks, then working with a palette knife in watercolor is something you’ll love trying.

Why Try Palette Knife Watercolor Painting?


Using a palette knife with watercolor breaks all the traditional rules, and that’s exactly what makes it fun! Instead of relying on a brush for every detail, a palette knife helps you:

🎨 Create Texture – Scraping, dragging, and layering paint results in unique textures that are hard to achieve with a brush alone.
🎨 Loosen Up – If you tend to overwork your paintings, a palette knife forces you to embrace spontaneity and let the paint flow.
🎨 Mix Colors Differently – Instead of carefully blending on the palette, you can mix directly on the paper, leading to unexpected and beautiful color variations.
🎨 Add Bold Contrast – Palette knives allow for sharp edges and crisp highlights that make elements pop.

It’s a perfect way to break out of a creative rut and experiment with new techniques that add life to your artwork.

How to Use a Palette Knife with Watercolors

Unlike acrylic or oil painting, where you apply thick layers, using a palette knife in watercolor is a bit different. Here are some simple ways to start experimenting:

1. Scraping and Lifting

  • Apply a wet wash of color to your paper.
  • While it's still damp, use the edge of the knife to lift paint, creating highlights and texture.
  • This works great for water reflections, rocky textures, or soft tree bark.

2. Applying Pigment with a Knife

  • Instead of using a brush, scoop up thick watercolor (or gouache) with the flat part of the knife and press it onto the paper.
  • This creates sharp edges and unexpected shapes that add contrast to your painting.

3. Dragging for Soft Blends

  • Load a small amount of paint onto the tip of the knife.
  • Gently drag it across a wet area, letting the pigment mix naturally with the water.
  • This creates soft blends with rich texture—great for misty landscapes or abstract florals.

4. Sgraffito (Scratching into the Paint)

  • When the paint is still wet, use the tip of the knife to scratch in details like branches, grass, or waves.
  • This reveals the white paper underneath, adding contrast and depth.

What to Expect When Trying This Technique

The first time you try using a palette knife with watercolor, it might feel a little unpredictable—and that’s okay! Unlike controlled brushwork, this technique relies on spontaneity. Some areas may turn out beautifully, while others might surprise you in unexpected ways.

But that’s what makes it fun! It helps you let go of perfection and trust the natural movement of water and pigment.

A Fun Exercise to Try

If you’re curious about palette knife watercolor painting, try this:

1️⃣ Wet your paper and add a loose background wash.
2️⃣ Use a palette knife to scrape in trees, rocks, or abstract textures.
3️⃣ Let the water and pigment mix naturally without overworking it.
4️⃣ Once dry, go back in with a brush for any final details.

This is a great way to practice control while allowing for happy accidents—a key part of expressive watercolor painting.

Want to Learn More?

If you're excited to explore palette knife watercolor painting, I’ve put together a course that dives deeper into these techniques. In it, I’ll guide you step by step through creating expressive landscapes, textures, and details using both a palette knife and traditional watercolor methods. Plus, as a bonus, I’ve included a fun mushroom painting demo to help you practice! Whether you're new to watercolor or looking to loosen up your style, this course will give you the tools and confidence to paint more freely and creatively.

 I’d love to have you join me HERE!

Monday, November 7, 2022

My Top 10 Gift Ideas for Watercolor Artists

It's hard to believe that we are heading into the holiday season again, but it will be nice to decorate and relax with your family and friends. 

This year I've compiled my top 10 gift ideas for the watercolor artist in your family.

After painting 20 years, I've found these to be some of my favorites and I wanted to share them with you. Most are under the $60 dollar range. 

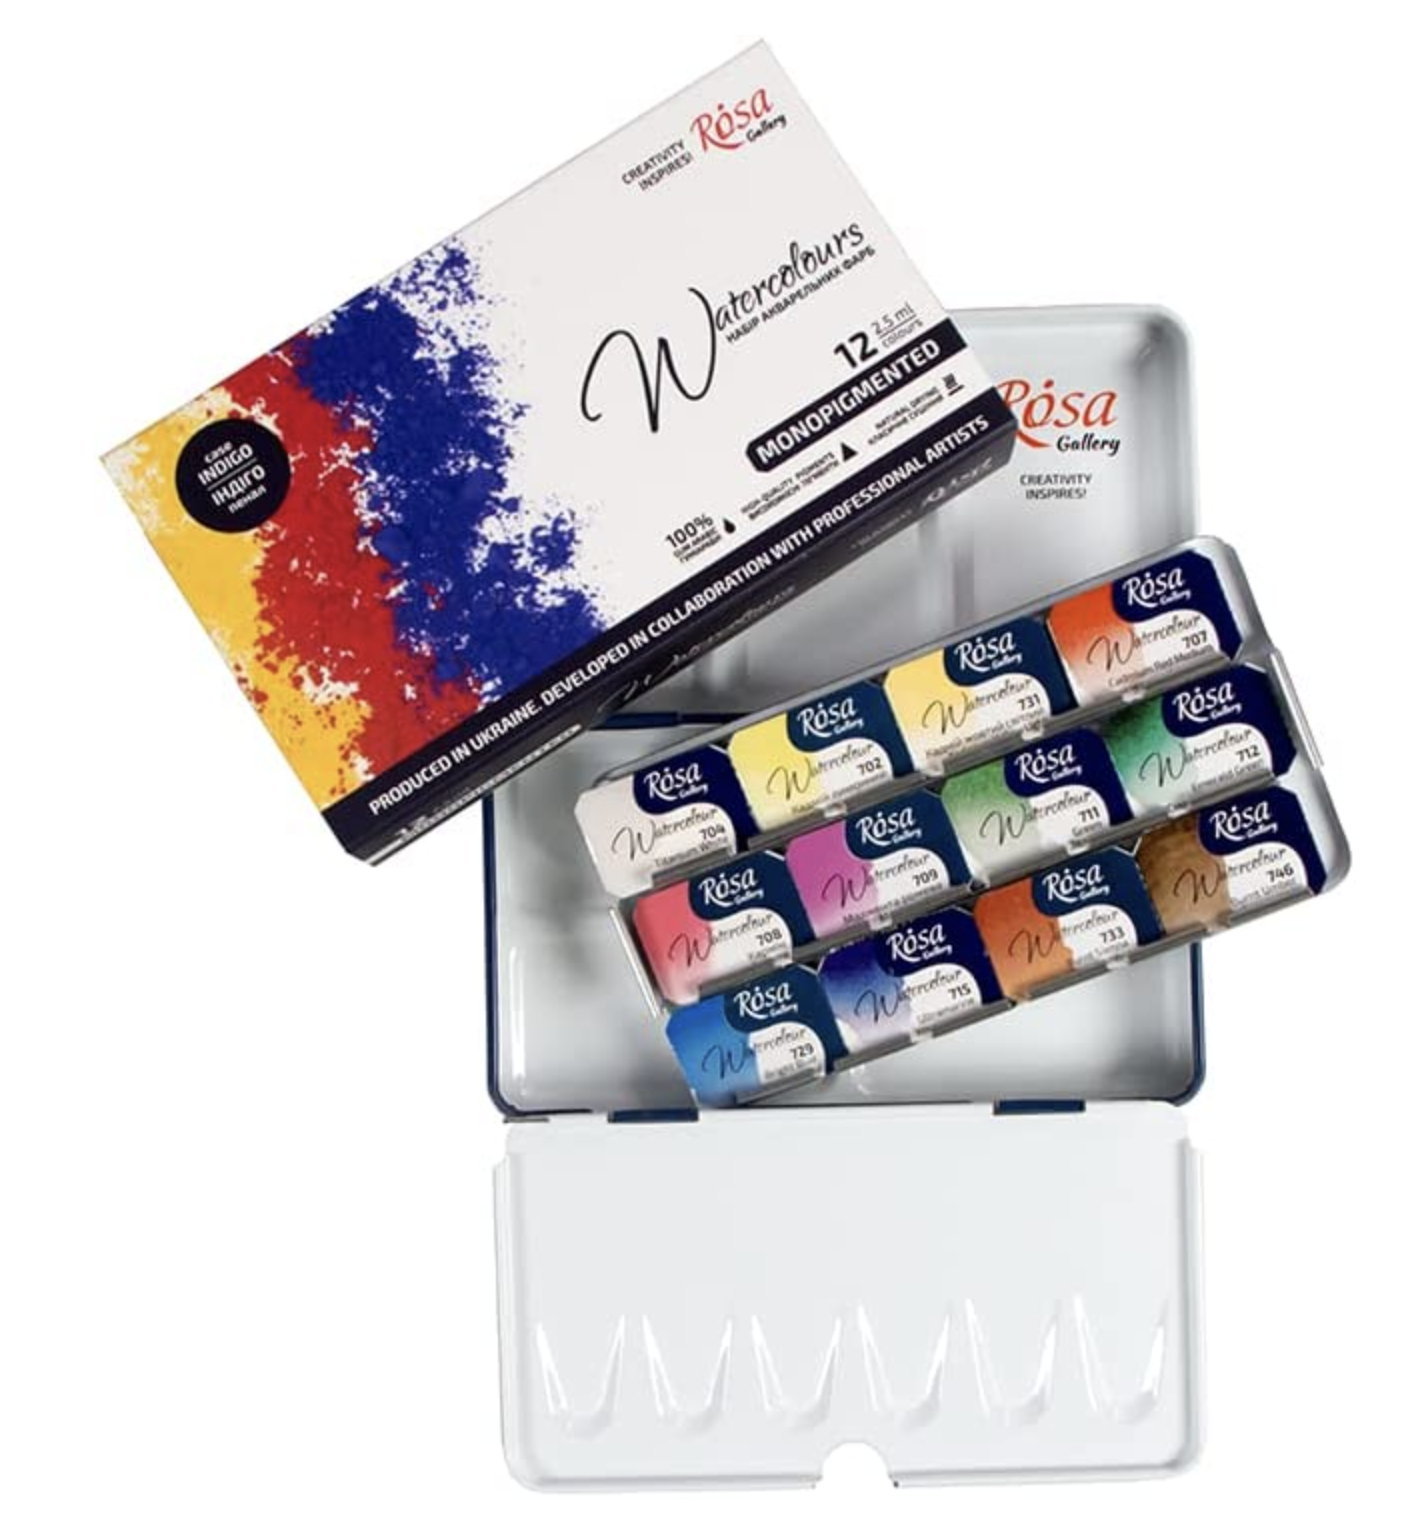
1. ROSA Professional Watercolor Paint Set - Artists will appreciate the single pigments.

If you are looking for some super bright watercolors, these are gorgeous. This is the small set, great for checking out the quality of these paints. When you add just a touch of water to these, you'll be amazed at how bright the pigment is. There is none of that mixing forever to get a lot of saturated colors.  I was gifted these paints by one of my artists and friend Lisa Hedrick (she's a designer and art instructor that works with Gina K. designs) this fall and just loved them! 

They come in this cute little portable metal case with 12 different colors. Each pigment is a single pigment color, so you can get some great pure mixtures. They also have a high lightfastness, which basically means that your art will last for years without fading quickly.  

2. Silver Brush Limited Dagger Striper Paint Brush - A game changer for painting loose.


Okay, so this one does take some practice, but wow it's the perfect brush for adding those little lines for tree branches, waves, or anywhere you want a light touch that doesn't disturb the layers underneath. This is one that I love to use in my Watercolor Seascapes Course is the 1/4" size, but they do have a 3/8" if you prefer. 


Great for layering and creating swirling shapes, which I think makes it great for loose florals. It's not really expensive either, because it is a blend of squirrel hair and synthetic fibers. 

3. White Ceramic Artist Palette - The perfect little mixing tray for a limited color palette. 


If you haven't tried a ceramic or porcelain palette let me share why it's preferred to plastic trays. They are super smooth, which makes them easier to clean up and less likely to stain from watercolor pigments. 

This one is conveniently small and great for a small art space. Works great for a limited color palette and holds 7 tube colors, but you can also just use it to mix your pan colors. 


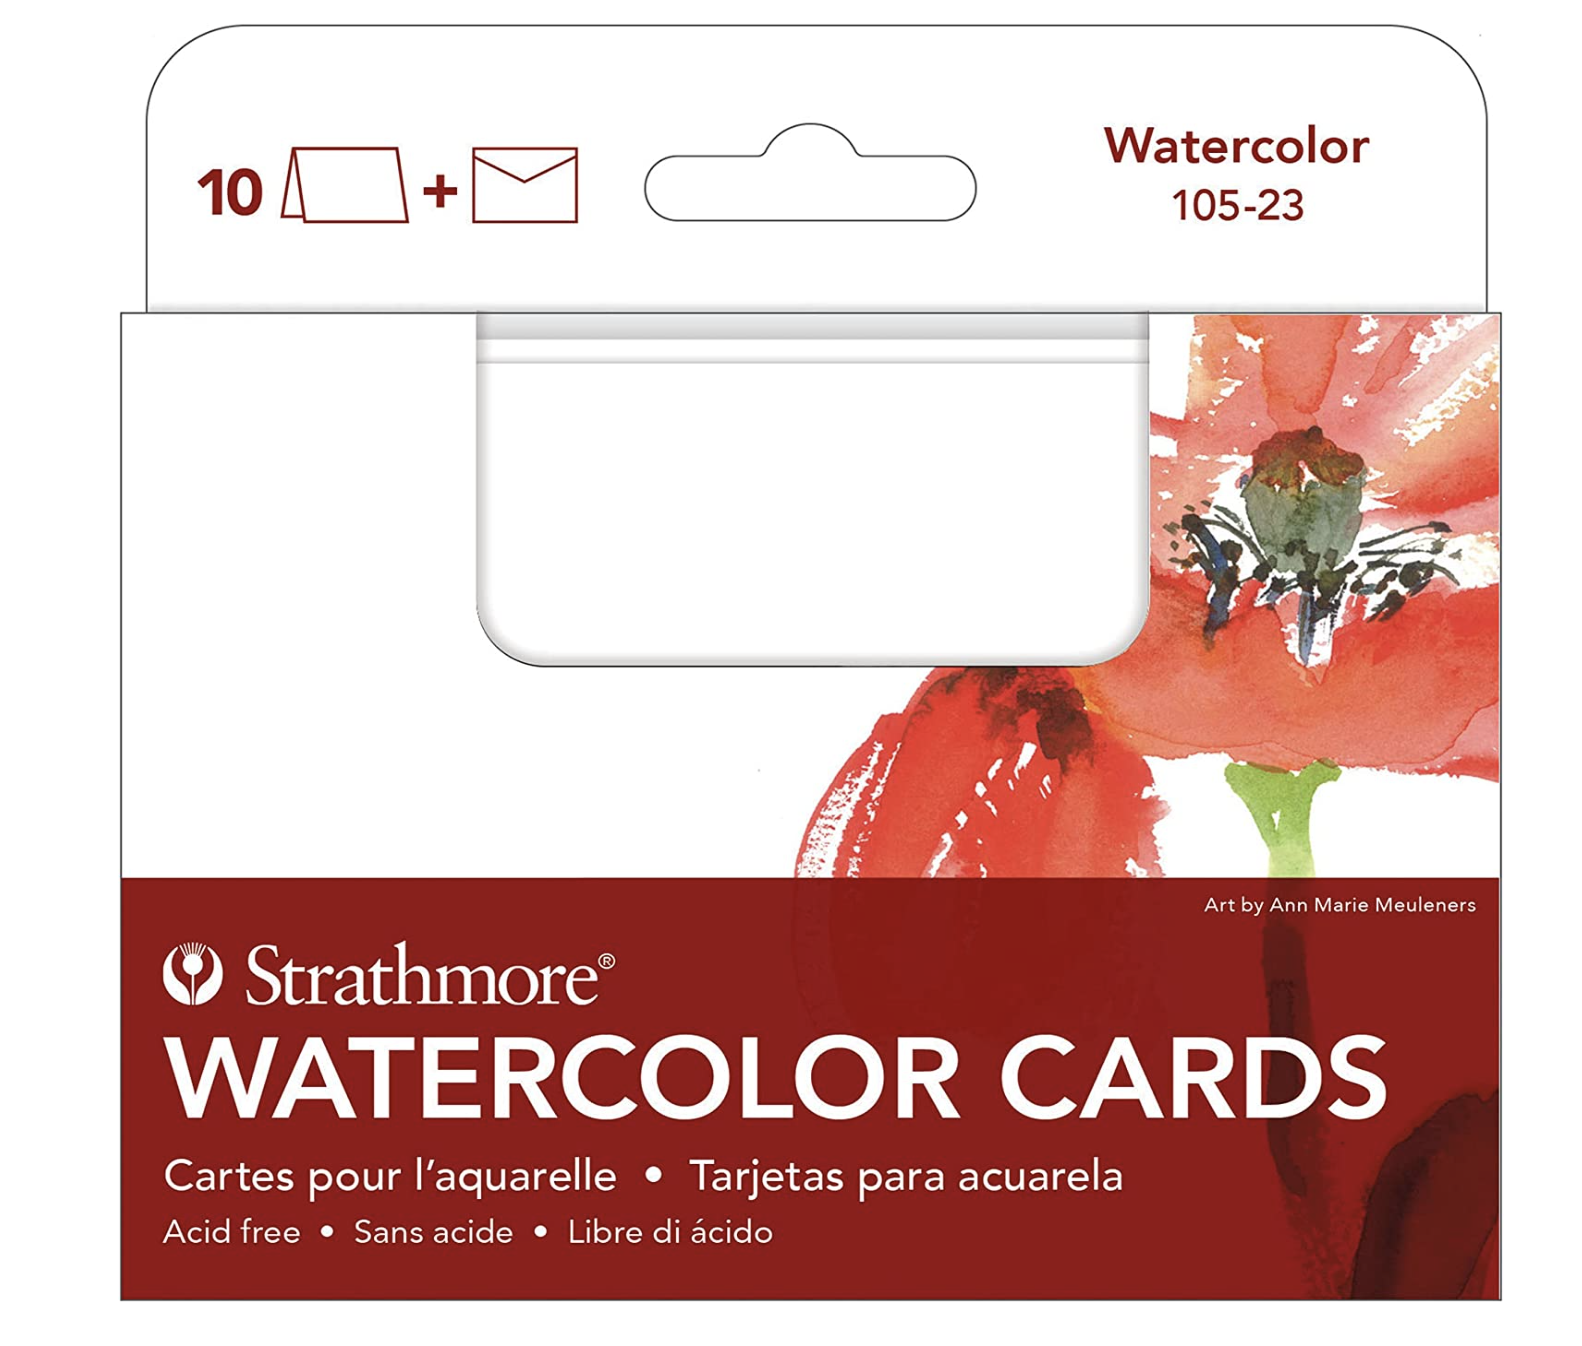
4.  Strathmore Watercolor Cards - Excellent surface and ideal for small artwork.


One of my favorite ways to use this paper is not as a card, but to cut it into half to make (2) 5X7" pieces. The texture is wonderful on these and it doesn't produce any pulp and is strong for wet into wet techniques. It comes in sets of 10/50/ or 100 along with envelopes.

If you purchase the 100 cards, you get 200 small 5x7" surfaces to paint on. But of course, if you rather use it as a card, having the envelopes to go with it is perfect, especially for the holidays. 

These also come in bright white or postcard size. 

5. White Gouache - Perfect for adding white details without masking fluid.


Go for the bigger 1.25 oz if you are like me and don't want to wait for masking fluid to dry, or want to be more expressive with your paintings without planning where those lighter areas will be.

It's great for adding sparkles in water or highlights, creating clouds, and my favorite way to pop in birch trees over lots of green trees! This stuff is a permanent part of my artist toolbox and I use it daily. The black gouache is great too.

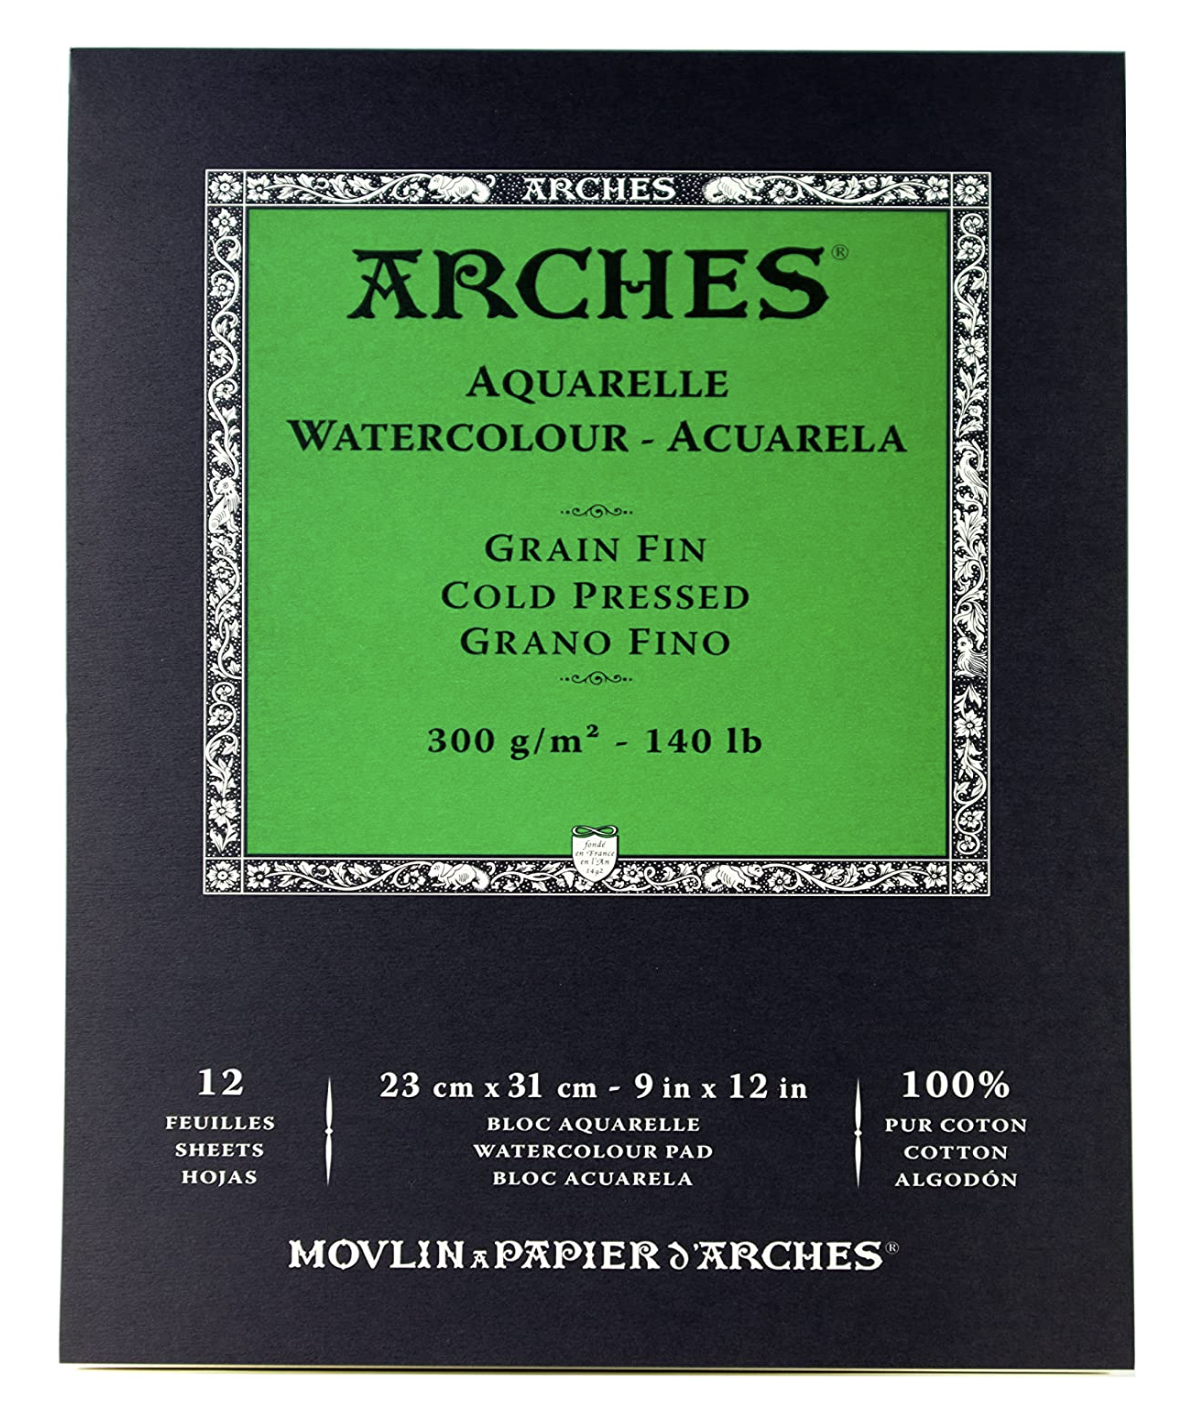
6. Arches Watercolor Pad - Spend your money on good watercolor paper.


Although I like the Strathmore cards for my small paintings, Arches paper is my go-to professional watercolor paper. These 9x12" pads fit perfectly in my cabinet and are easy to carry. The paper, no matter what size or press is fantastic. My students find less frustration when they use good-quality paper. 

This paper is 100% cotton and has been around for centuries, seriously since 1942. These folks know what they are doing. My favorite is the 140lb cold press, it gives me just the right about of texture for creating rocks and other textures in my artwork. Also comes in hot press (nice for fine details/portraits or ink), and rough. 

7. Winsor & Newton Cotman Kit - My very first watercolor kit. 


This was the first and only watercolor kit that I used for the first 5 years of painting, and you know what, still use it to this day. This kit only has 12 colors and it comes with a lovely little sable brush. 

We use this kit in our watercolor classes, and I recommend it to my beginner students. A great small kit to learn about water-to-paint ratios and mixing. Since they are pan-paints, you can mix and create your own colors from these basic colors. A great set to explore and make your very first color wheel. 

8. Dorlands Wax - A game changer for sealing watercolors on wood without frames.


If you hate to spend a lot of money on UV glass and framing watercolors, this is a fantastic alternative. 

I love to mount my watercolor paper onto a wooden panel, seal it with UV then top it with this wax medium. It protects your watercolors and adds depth to your colors. PS. The wooden panel is my Number 9 item. 

It gives watercolors a completely different look. You can leave it with a matte look or buff it to a glossier finish. It also won't yellow or fade.

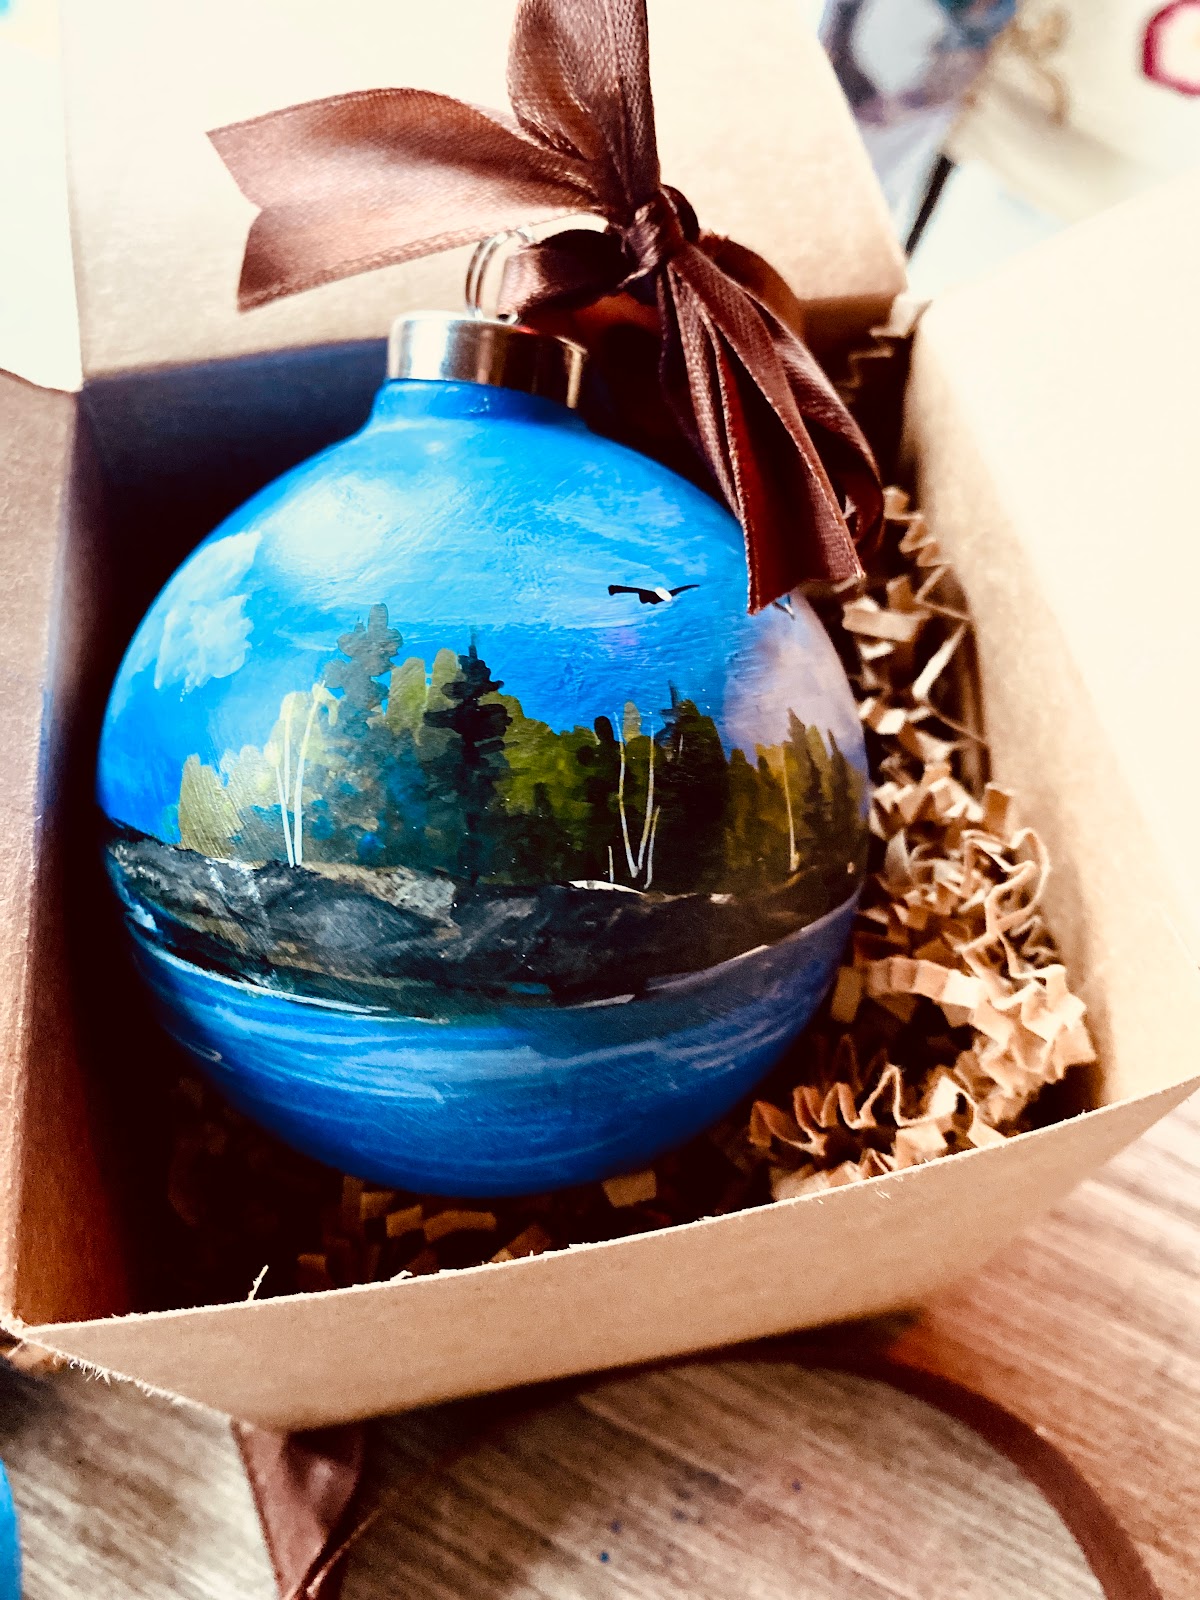
Here are some watercolor ornaments that I sealed with this wax. 


9. Unfinished Wood Panel - Love this contemporary look for watercolors.


These wooden canvases/panels come in many sizes and widths. Make sure that your seal the raw wood so that it doesn't damage your watercolor paper for attaching your art. My preference is the deep panels, that look like a frame. You can choose to leave the edges natural, stain, or paint them to match your artwork. 

This is such a beautiful and contemporary way to mount your watercolors. You can also use these panels for Oils. Here's an art piece that I finished. Interesting story, I had originally poured resin over this piece of wood but didn't care for the painting so I painted over the resin with watercolor grounds, then waxed the top. 


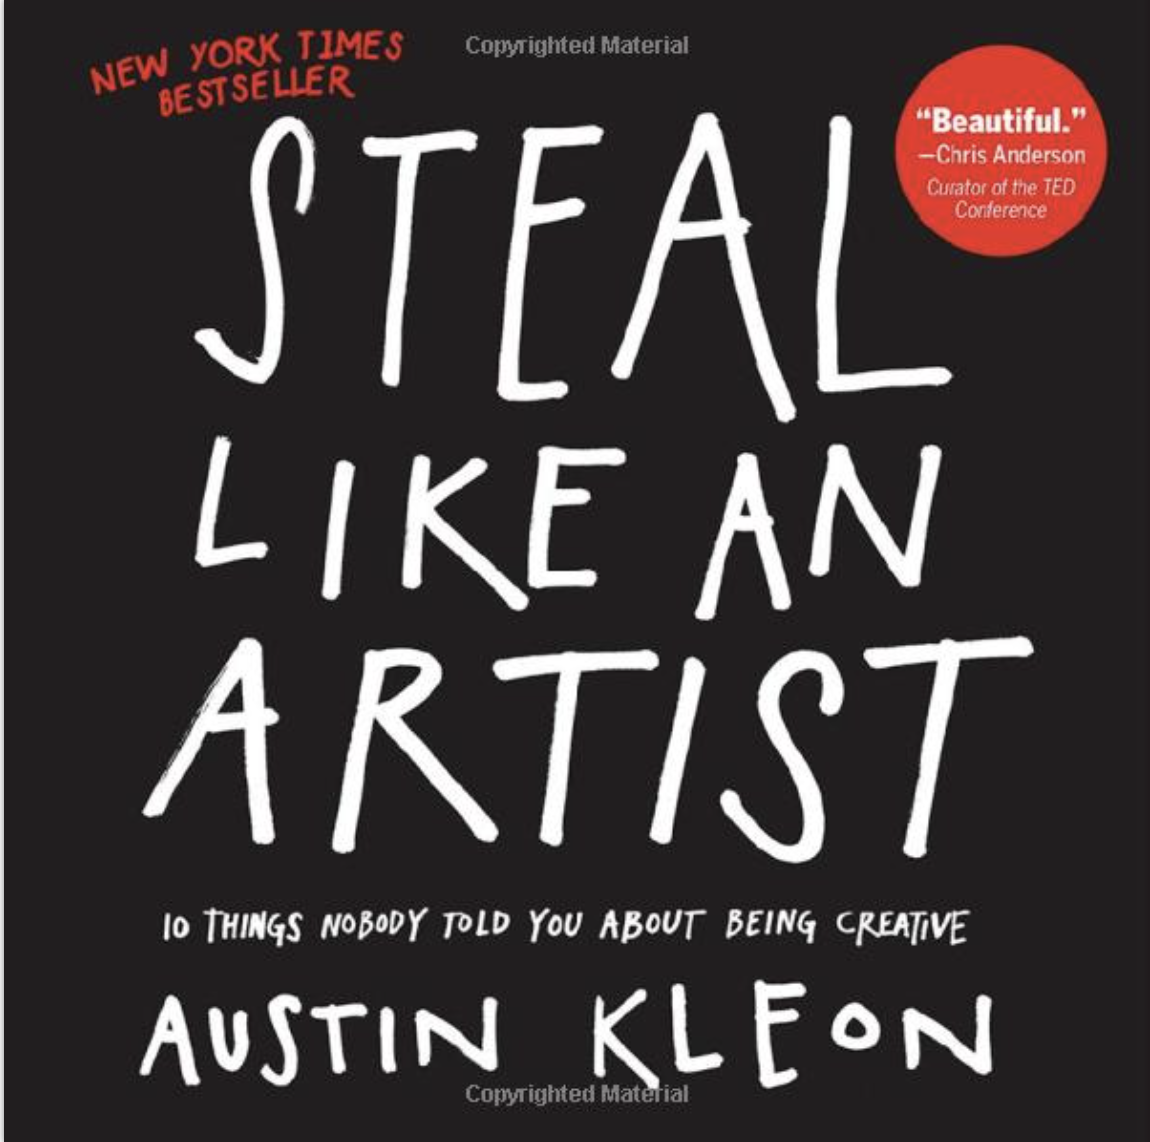
10. Steal Like An Artist - Book by Austin Kleon - Just a fun little read for any artist.


I've had this little book sitting on my shelf for a number of years. It's a great little book that reminds me of the little things. Just a little fun read for any creative person. Makes for the perfect stocking stuffer too. 

Would love to hear about some of your favorites! Leave me a comment and let me know. 

Happy Creating,

Kellie 


Legal Info: Thanks for watching my channel I am affiliated with Amazon and This Channel accepts forms of cash advertising, sponsorship, paid insertions, or other forms of compensation. I only recommend items that I personally use and like and hope that my opinion helps others. :) Safety Note: When using paints and chemicals please adhere to any and all manufacturer safety guidelines with these products. If you have specific safety questions or concerns please contact the product's manufacturer or your doctor. I am an artist, not a Scientist or a Doctor. These are just my opinions and my process, I am not responsible for your health or actions.

When to Leave It In… or Leave It Out – Watercolor Lessons from Monhegan Island, Maine

When to Leave It In… or Leave It Out – Watercolor Lessons from Monhegan Island, Maine There’s a quiet kind of magic to painting coastal Mai...